Visual Studio Code でRubyのデバッグをします。
サンプル
拡張機能のインストール
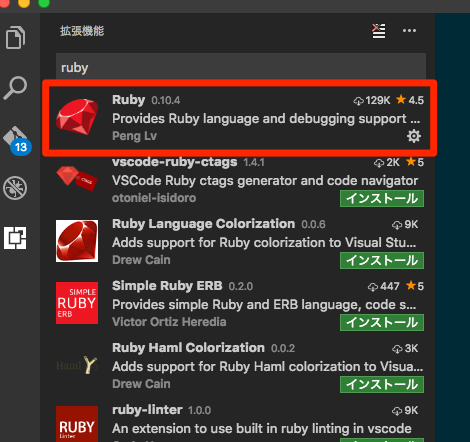
Ruby 拡張をインストールします。
⌘+P で Quick Open を実行し
ext install Ruby
で検索します。

Ruby 関連の拡張機能のリストが表示されるので、
Ruby を選択します。
検証用プロジェクトのセットアップ
$ bundle gem sample --test=rspec
$ cd sample
$ tree
.
├── Gemfile
├── README.md
├── Rakefile
├── bin
│   ├── console
│   └── setup
├── lib
│   ├── sample
│   │   └── version.rb
│   └── sample.rb
├── sample.gemspec
└── spec
   ├── sample_spec.rb
   └── spec_helper.rb
sample.gemspec のTODOコメントを削除し、spec.homepageに適当なURLを設定しておきます。
- Gemfile に依存ライブラリを追加します
source 'https://rubygems.org'

# Specify your gem's dependencies in sample.gemspec
gemspec
gem "ruby-debug-ide"
gem "debase"
- install します
$ bundle install --binstubs vendor/bundle/bin
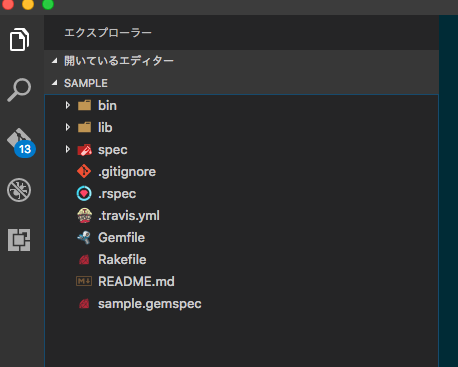
プロジェクトをVSCodeで開きます
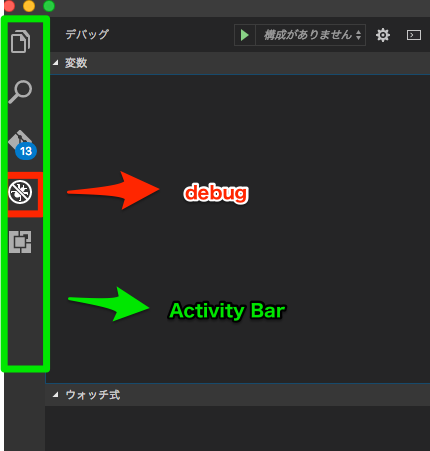
Active BarでDebugを選択します
Rubyの設定ファイルを選択します

これを選択することで ./.vscode 配下に設定ファイルの雛形が生成されます。
設定を変更します
./.vscode/launch.json を変更します。
いくつも設定項目がありますが、今回は Local File と RSpec - active spec file only だけ変更します。
Bundler を利用しているので、 useBundler を true に設定します。
- 変更前
{
  "version": "0.2.0",
  "configurations": [
    {
      "name": "Debug Local File",
      "type": "Ruby",
      "request": "launch",
      "cwd": "${workspaceRoot}",
      "program": "${workspaceRoot}/main.rb",
      "useBundler": true
    },
# 略
    {
      "name": "RSpec - active spec file only",
      "type": "Ruby",
      "request": "launch",
      "cwd": "${workspaceRoot}",
      "program": "${workspaceRoot}/bin/rspec",
      "args": [
        "-I",
        "${workspaceRoot}",
        "${file}"
      ],
      "useBundler": true
    },
# 略
  ]
}

main.rb を作成
動作確認用に main.rb を作成します。
処理内容は FizzBuzz です。
def fizzbuzz(limit)
  (1..limit).each_with_object([]) do |e, memo|
    memo << case
    when e % 15 == 0 then "FizzBuzz"
    when e % 5 == 0 then "Buzz"
    when e % 3 == 0 then "Fizz"
    else e.to_s
    end
  end
end

print fizzbuzz(15)
デバッグ実施
Debug Local File を選択してデバッグを実行してみます。
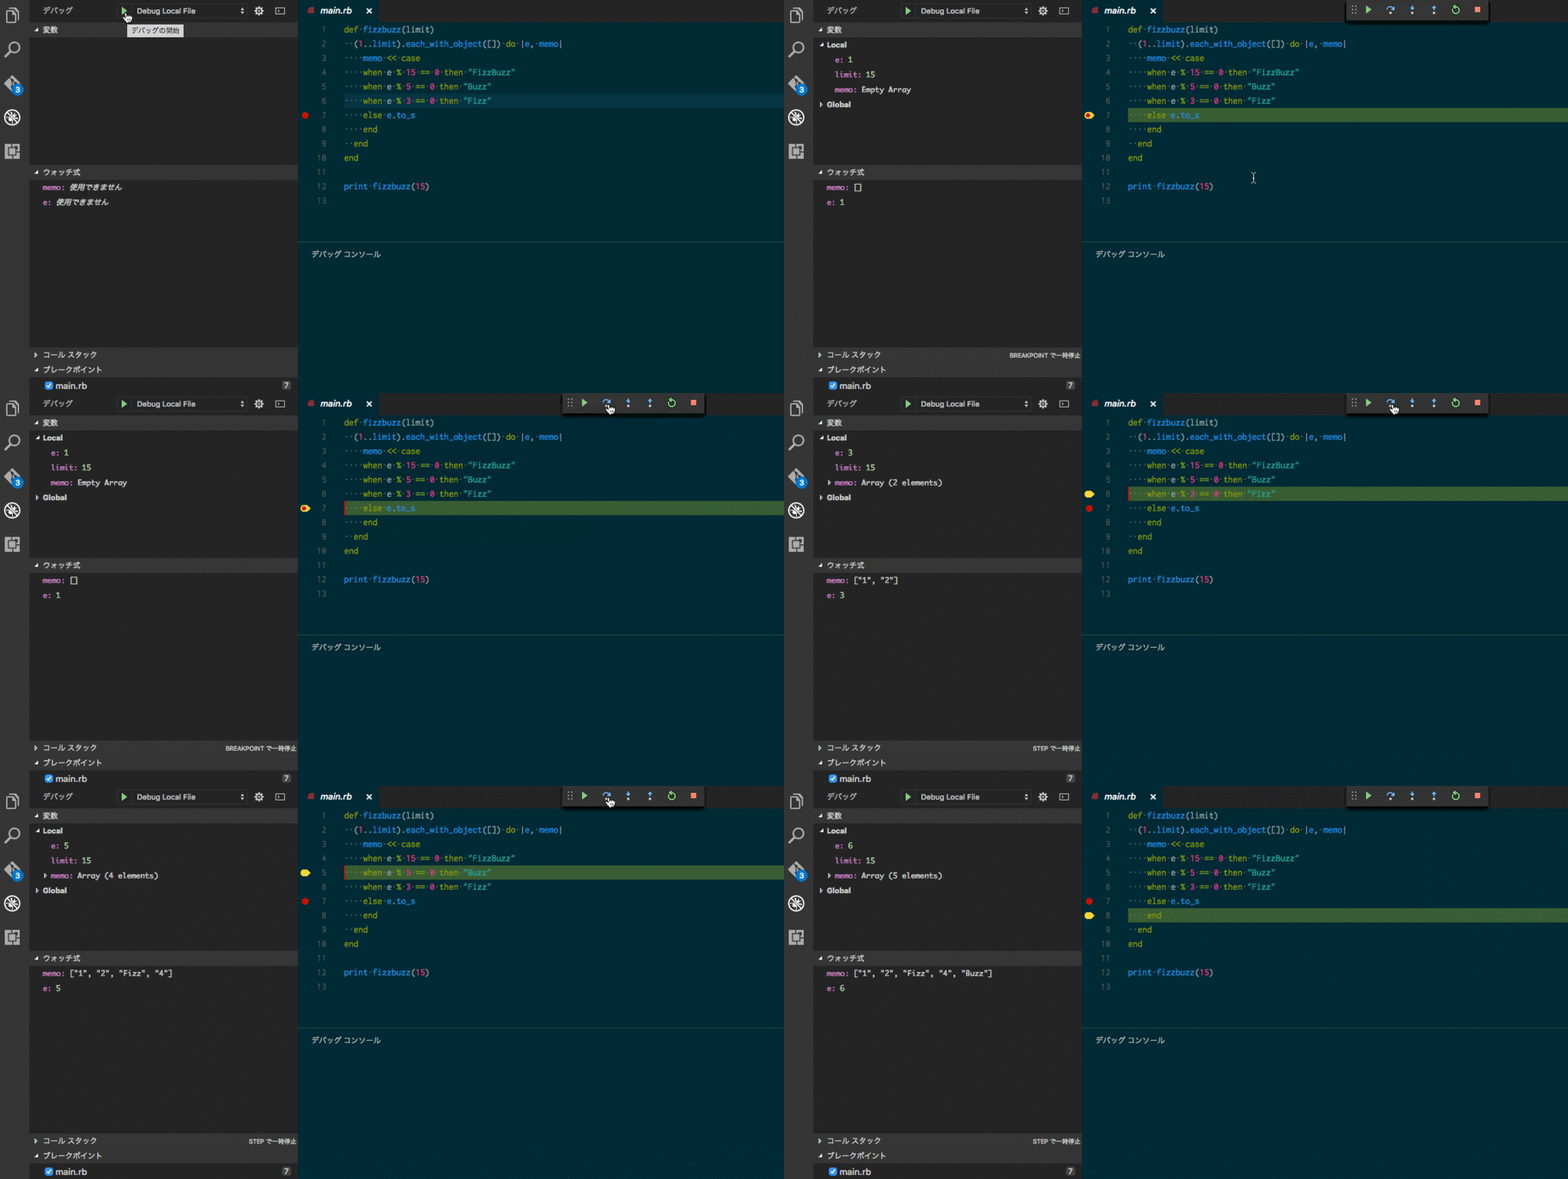
ウォッチ式と変数の内容が更新されているのがわかります。
RSpec 経由で実行
今度は現在開いているRSpecからデバッグを実行してみます。
デフォルトで spec/sample_spec.rb は lib/sample/version.rb を呼んでいるので、
version.rb にブレイクポイントを設定しておきます。
デバッグ実施
RSpec - active spec file only を選択してデバッグを実行してみます。
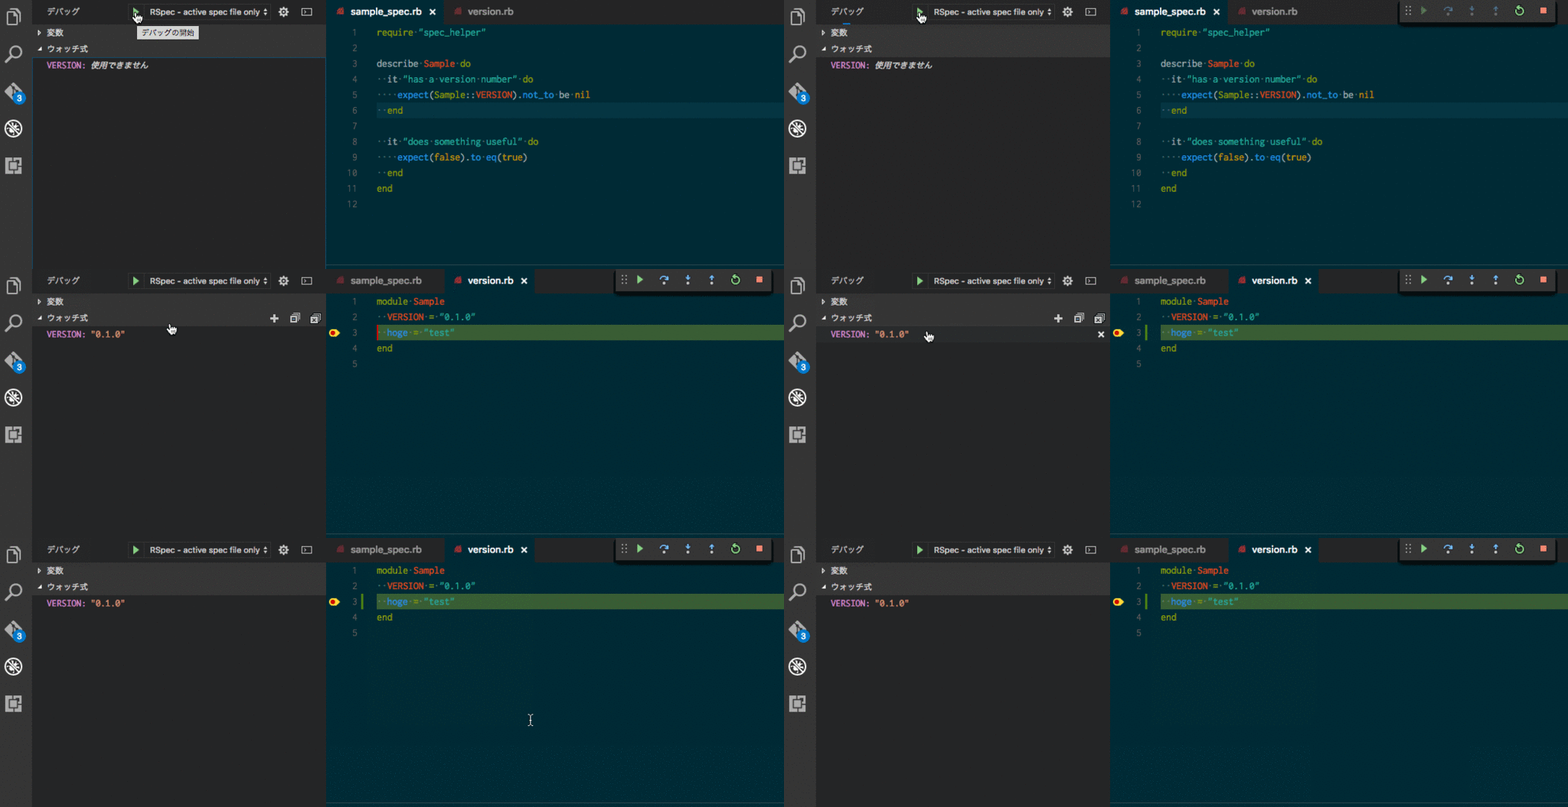
ウォッチ式の内容が更新されているのがわかります。